Let's cut to the chase: securing a Japan travel visa is often the most daunting part of planning your trip. I've helped dozens of friends through this process, and I've seen the same confusion time and again. This guide isn't just a rehash of official jargon; it's a practical walkthrough based on real experiences. By the end, you'll know exactly what to do, what to avoid, and how to boost your chances of approval.
What You'll Find in This Guide
What is a Japan Tourist Visa?
A Japan tourist visa, officially known as a Temporary Visitor Visa, is a sticker or stamp in your passport that allows you to enter Japan for tourism, sightseeing, or visiting friends and family for short stays. It's not as scary as it sounds. Most nationalities need one, but the process varies by country. For example, U.S. citizens get visa-free entry for up to 90 days, but if you're from India, China, or the Philippines, you'll likely need to apply.
Different Types of Visas for Japan
Japan offers various visas, but for tourists, the Temporary Visitor Visa is key. Others include work visas, student visas, and spouse visas. Don't mix them up; applying for the wrong type is a fast track to rejection. The tourist visa typically allows stays of up to 90 days, and it's single or multiple entry. Multiple-entry visas are trickier—they often require proof of frequent travel or higher financial stability.
Japan Visa Requirements: Your Essential Checklist
Here's where things get real. The requirements aren't just a list; they're about proving you're a genuine tourist who won't overstay. Based on the Japan Ministry of Foreign Affairs guidelines, here’s what you usually need:
| Document | Description | Why It Matters |
|---|---|---|
| Valid Passport | Must have at least 6 months validity from your planned entry date, with two blank pages. | Without this, your application is dead on arrival. I once saw someone with 5 months validity get rejected instantly. |
| Visa Application Form | Download from the embassy website, filled out accurately in English or Japanese. | Typos or inconsistencies raise red flags. Use black ink and print it single-sided. |
| Passport-Size Photo | One recent photo (45mm x 45mm) with a white background, taken within the last 6 months. | Sounds simple, but outdated photos or wrong sizes cause delays. Get it done professionally. |
| Proof of Financial Means | Bank statements for the last 3-6 months, showing sufficient funds (e.g., at least $2,000 for a two-week trip). | This is critical. They want to see steady income or savings, not sudden large deposits. |
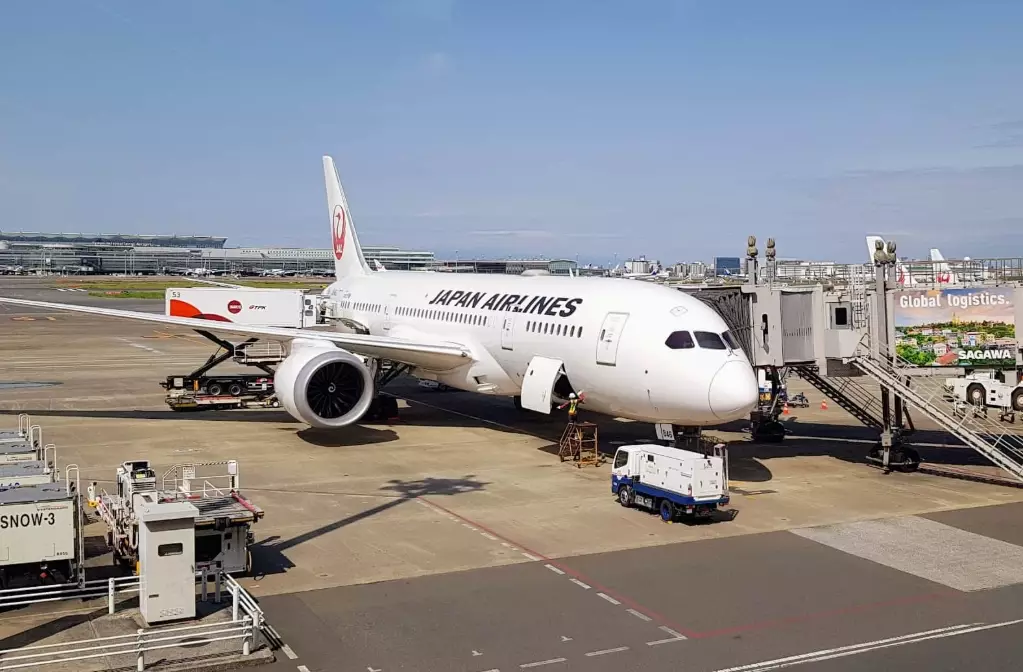
| Flight Itinerary | Round-trip flight reservations, not necessarily paid tickets. | Shows you plan to leave Japan. Use a hold booking from airlines like ANA or JAL if you're not ready to pay. |
| Hotel Reservations | Confirmed bookings for your entire stay, or a letter from a host if staying with friends. | Airbnb confirmations work, but ensure they include all details like address and host contact. |
| Daily Schedule | A detailed plan of your activities in Japan, including dates and places. | This proves you're a genuine tourist. Be specific—list attractions like Tokyo Skytree or Kyoto's Fushimi Inari. |
Some embassies ask for extra items, like employment certificates or tax returns. Always check the specific requirements for your country on the official embassy website. For instance, the Embassy of Japan in India has a slightly different checklist compared to the one in the UK.
Pro tip: Start gathering documents at least a month before your trip. Bank statements can take time to arrive, and photo studios might be busy. I learned this the hard way when I had to rush last-minute for a friend's application.
How to Apply for a Japan Visa: Step-by-Step
The application process isn't rocket science, but it demands attention to detail. Here’s a breakdown based on my experience helping applicants from Southeast Asia, where the process is more stringent.
Step 1: Prepare Your Documents Meticulously
Don't just throw papers together. Organize them in a folder in the order listed by the embassy. Make copies of everything—originals might be returned, but copies are often submitted. For financial proof, highlight your account balance and regular transactions. If you're self-employed, add business registration documents; this is a common oversight.
Step 2: Submit the Application
Most countries require in-person submission at a visa application center or embassy. In some places, like the Philippines, you can use accredited agencies. Fees vary: it's usually around $30-$50, but check locally. Submission hours are limited—often 9 AM to 12 PM on weekdays. Arrive early to avoid queues.
I remember a case: Sarah, a solo traveler from Malaysia, submitted her application through VFS Global in Kuala Lumpur. She booked an appointment online, brought her folder, and it took 20 minutes. Smooth, but only because she had all her ducks in a row.
Step 3: Wait for Processing
Processing times range from 5 to 15 working days. It can be longer during peak seasons like cherry blossom period (March-April). Don't book non-refundable flights until you have the visa. Some embassies offer status tracking online; use it to ease your nerves.
Step 4: Collect Your Visa
Once approved, you'll get a call or email. Collect your passport with the visa sticker. Check the details immediately: validity dates, entry type, and your name spelling. Errors happen—I've seen a visa issued with the wrong birth year, causing a two-week delay to fix.
Warning: Avoid using visa consultancy services that promise "guaranteed approval." They often charge exorbitant fees and might submit fraudulent documents, risking a ban. Do it yourself with this guide; it's safer and cheaper.
Common Mistakes and Insider Tips
Most rejections stem from avoidable errors. Here’s what I've observed from years of assisting travelers.
Incomplete Daily Schedule: Vague plans like "sightseeing in Tokyo" aren't enough. List specific activities: "Day 1: Visit Senso-ji Temple in Asakusa, lunch at a local ramen shop, evening at Tokyo Skytree." Include addresses and opening hours if possible. It shows you've done your homework.
Financial Proof Issues: A sudden large deposit right before applying looks suspicious. They prefer consistent savings. If someone sponsors your trip, include their bank statements and a sponsorship letter with their signature and contact details.
Overlooking Embassy-Specific Rules: Each embassy has quirks. For example, the Japanese Embassy in Vietnam requires applicants to submit original bank books, not just statements. Check their website religiously—don't rely on generic advice.
Personal Touch: Add a cover letter explaining your trip purpose. It humanizes your application. Write something like: "I've always dreamed of seeing Kyoto's temples and trying authentic sushi in Tsukiji Market." Keep it brief but sincere.
One more thing: the Japan e-visa system is rolling out for some nationalities, like those from China and Vietnam. It's an online application, but it's still in pilot phase. Don't assume it's available for everyone; verify on the official immigration website.
FAQ: Your Japan Visa Questions Answered
Wrapping up, the Japan travel visa process is about diligence, not luck. Follow this guide, double-check everything, and you'll likely sail through. Remember, the goal is to show you're a genuine traveler with clear plans and means. Now, go start that application—your sushi adventure awaits!



Comments